Single-Sign-On Instructions for Zoom
When you access Zoom from a web browser, or Sign in to Zoom through the “Sign in” option, you will use your purchase.edu credentials.
For steps to sign into the Zoom application using single sign on, please see instructions starting below at step 4.
1. Visit https://purchase.zoom.us. From there you can Join or Host a meeting.
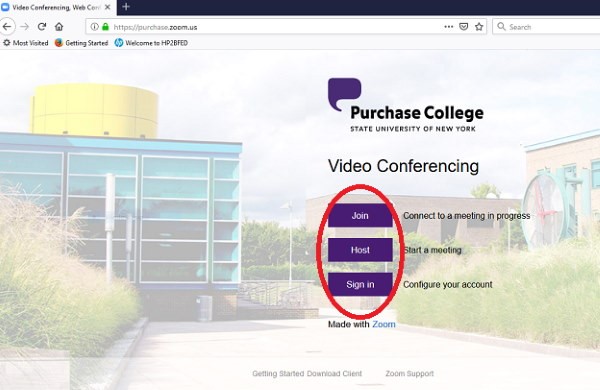
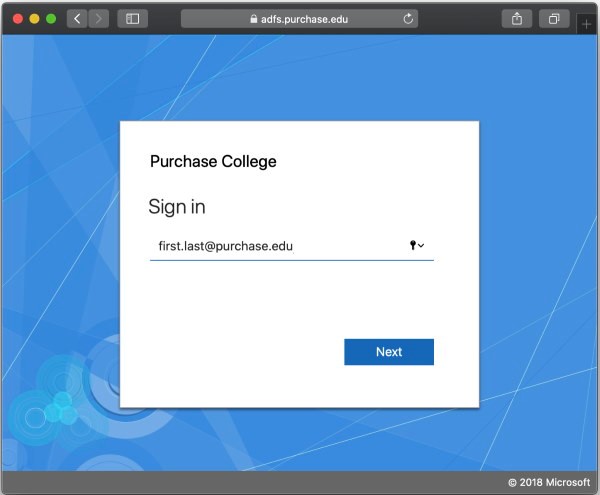
2. Sign in using your firstname.lastname@purchase.edu address and select Next.
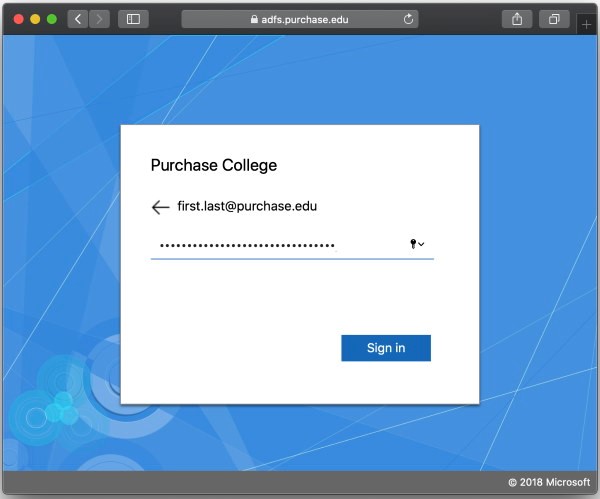
3. Enter your purchase.edu email password and select Sign in.
___________________________________________________________________
4. Instructions for signing into the Zoom app.
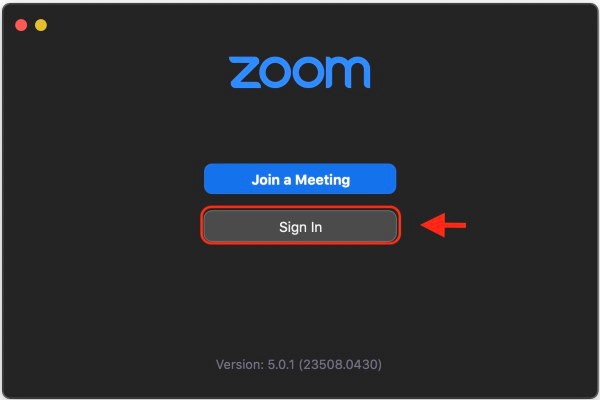
First, find the Zoom icon on your desktop. If you do not see it, type Zoom in the search field.
Once you locate the shortcut, double click to open, and then select Sign In.
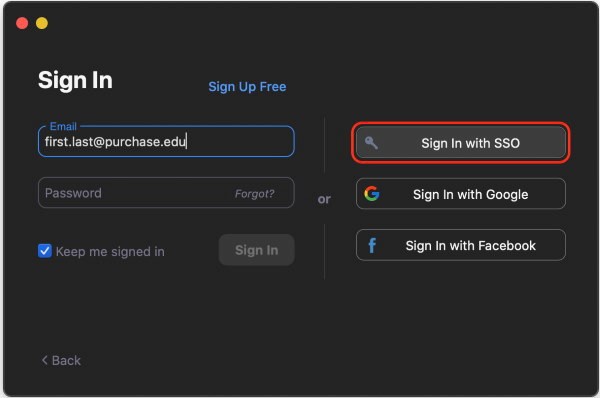
5. Enter your purchase.edu email address and select Sign in with SSO.
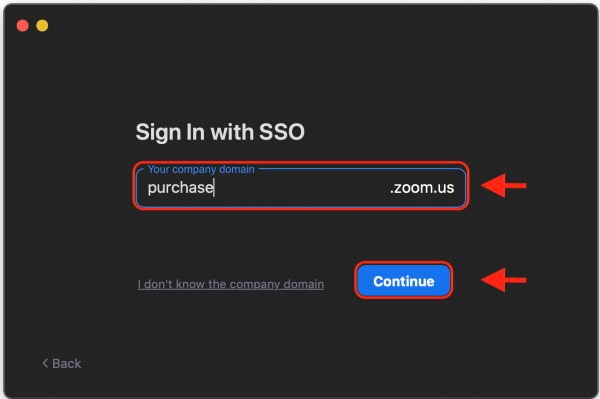
6. Enter “purchase” as your company domain and select Continue.
Once you successfully complete this authentication process, your Zoom client software will “remember you” for up to 30 days (you don’t have to go through all these screens every time you use Zoom)
Zoom client updates are being released on a more consistent basis.If you have a College owned machine on campus, Zoom client updates are being automatically pushed.
If you have a College owned laptop, client updates can be obtained by connecting to the campus network via OpenVPN. The client generally checks for updates every 60 minutes, and you will then be updated automatically. The Zoom update is small and (depending on network speed) should only take a few minutes.
If you are on your home computer, updates can be installed manually. To perform manual updates on either a College owned or personal computer, please see the Zoom Client website.
Please note that Due to security changes from Zoom, after May 30, older Zoom clients will need to be updated before they can join a meeting.